What it does
The map shows three points, A, B and C, each with the elevation of one planar feature, called the plane here: three outcrops of a contact, say, or the top of a sandstone in three boreholes. The tool fits the plane through them and draws its structure contours, the lines along which the plane has one elevation. Over a landscape of hills and a valley it then works out what that plane means on the ground. Where the plane lies below the surface, the map is colored as the rocks above it; where it would be above the surface it has been eroded, and the unit beneath it is exposed. The yellow line between the two is the predicted outcrop: where a mapper should find the contact.
Click anywhere on the map to drill there. The callout gives the ground elevation, the plane elevation and the depth to the plane, or how far above the ground it would be if it has been eroded. The 3D block shows the same plane cutting the hills, with the boreholes down to it, and the cross-section runs along the dip through the drill site so the true dip shows.
The tool has four tabs. Solved is for experimenting: change the points and the plane and watch the answer change, and switch the construction on for the map, the block diagram or the cross-section. Step by step works through an example, building the construction in all three views as you click Next; it can also use the example you set up on the Solved tab. Work it out has you do every step yourself, with a ruler and a calculator, and Quiz asks rounds of ten short questions on single steps, each on a new problem with outcrops or boreholes.
Things to try
- Change the strike and dip. With surface outcrops, A, B and C sit on the predicted outcrop line, and it swings across the hills as the plane turns.
- Choose Three points and drag A across the map. The plane, the structure contours and the outcrop line follow at once. Move A toward the line from B to C and the dip runs up: the closer the three points come to a line, the less they constrain the plane.
- With boreholes and Three points, drag a yellow marker in the 3D view up or down. That changes the plane elevation in that borehole, and the whole plane tilts about the other two.
- Color the map by depth. Light is shallow, dark is deep, and the hatched sandstone is where the plane has been eroded. Drill on a hilltop and in the valley to compare.
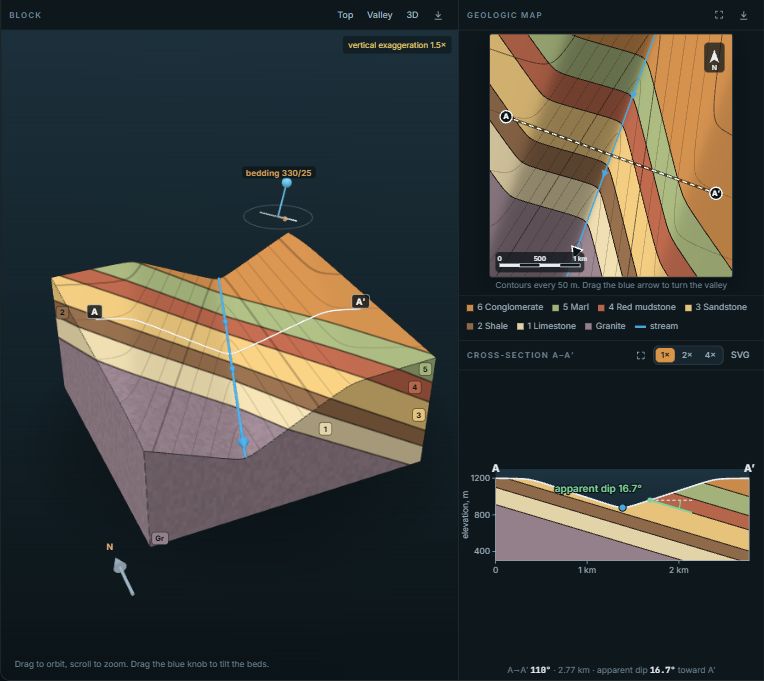
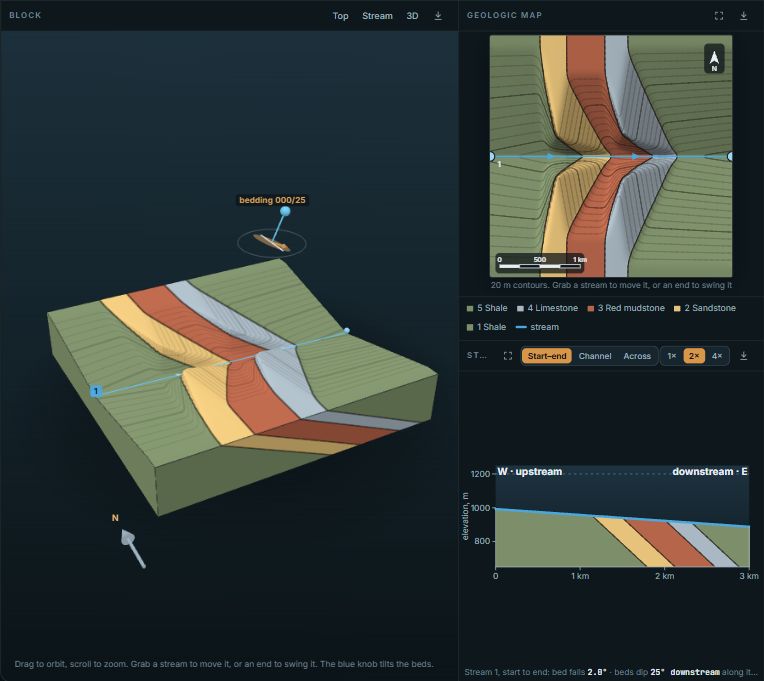
- Follow the outcrop line across the valley. Where a valley cuts a dipping layer, the outcrop bends into a V. It points down the valley only when the layer dips downstream more steeply than the valley floor falls; otherwise it points up the valley.
- Try another landscape. Landscapes 1, 2 and 3 are always the same, so a class can share one; Random landscape makes a new one. The same plane crops out in a different pattern on each.
The construction and the formula
The graphical solution needs only a ruler and a protractor, and the Step by step tab draws it in eight steps. Label the points H, M and L by elevation. On the line from H to L, the plane passes M's elevation at the fraction
Call that point P. The line M–P is level and lies in the plane, so it is a strike line. A parallel line through L is the structure contour at L's elevation. With d the perpendicular distance between the two lines and Δz = zM − zL,
The same answer comes from fitting a plane z = a·x + b·y + c through the three points (x east, y north). Then tan(dip) = √(a² + b²), the dip direction is the bearing of (−a, −b), and the structure contours are spaced Δz / tan(dip) apart on the map for every Δz of elevation.
Depth and the outcrop line
The depth to the plane at any point is the ground elevation minus the plane elevation there. It is zero along the outcrop line and negative where the plane has been eroded. The Depth grid CSV gives ground, plane and depth every twentieth of the map width, ready for a spreadsheet or a contouring program. The cross-section slides A, B and C onto the section line along strike. That is exact for a plane, because a point keeps its plane elevation when it moves along a structure contour, so the three points land on the plane line even when they lie well off the section.
Using it in class
Projector mode with Step by step makes a lecture demonstration: press Next, let the class predict where the next line goes, then show it. Work it out lets each student solve a problem one step at a time. The Quiz tab gives rounds of ten random questions, each on a fresh problem with outcrops or boreholes, with the ruler and calculator on hand: which point is the middle one, where P falls, which line is a strike line and its bearing, the dip from two strike lines, why the highest-to-lowest line gives an apparent dip, and the right-hand-rule strike. A wrong answer gets the reason, such as a strike quoted from the wrong end or a ratio turned upside down, and the map then shows the whole construction.
Copy link keeps the points, the landscape and the step, so one problem can be set for a whole class. The block diagram builder carves valleys into a stack of layers to show the outcrop patterns the yellow line is predicting here.
How the numbers are made
The plane is solved exactly from the three points, and checked with Stereogram's own geometry code (the cross product of two sides of the triangle), right-hand-rule strike and degrees throughout. Both were checked against three problems worked by hand and against each other on 20,000 random triangles, where they agreed to a millionth of a degree. The landscapes are generated, not real places: a few smooth hills and a winding valley, scaled to the relief you set. The outcrop line is traced on a 140 by 140 grid across the map, so it is good to under 1% of the map width.